How to Convert Names Into a Filet Crochet Chart

(Last edited Wed, 05 Aug 2026)
Step-by-Step Guide How To Filet Crochet Letters
Personalized filet crochet projects are a beautiful way to create meaningful handmade pieces like wedding veils, blankets, baby gifts, and keepsakes. One of the most popular designs is adding names, dates, or messages into crochet using a filet crochet chart. The secret to creating readable lettering is treating each filet crochet block like a square on graph paper. Similar to pixel art, each square represents one crochet decision: either a filled block or an open mesh space. This guide will show you how to convert names into filet crochet charts, choose the right letter size, create your design, center your lettering, and crochet your finished pattern.
By Jaysha | YarncraftedThis post contains affiliate links, which means we may earn a small commission at no additional cost to you if you make a purchase through these links. Your support helps keep our crochet patterns and resources free, allowing us to continue sharing valuable tips and tutorials. Thank you for supporting Yarncrafted!
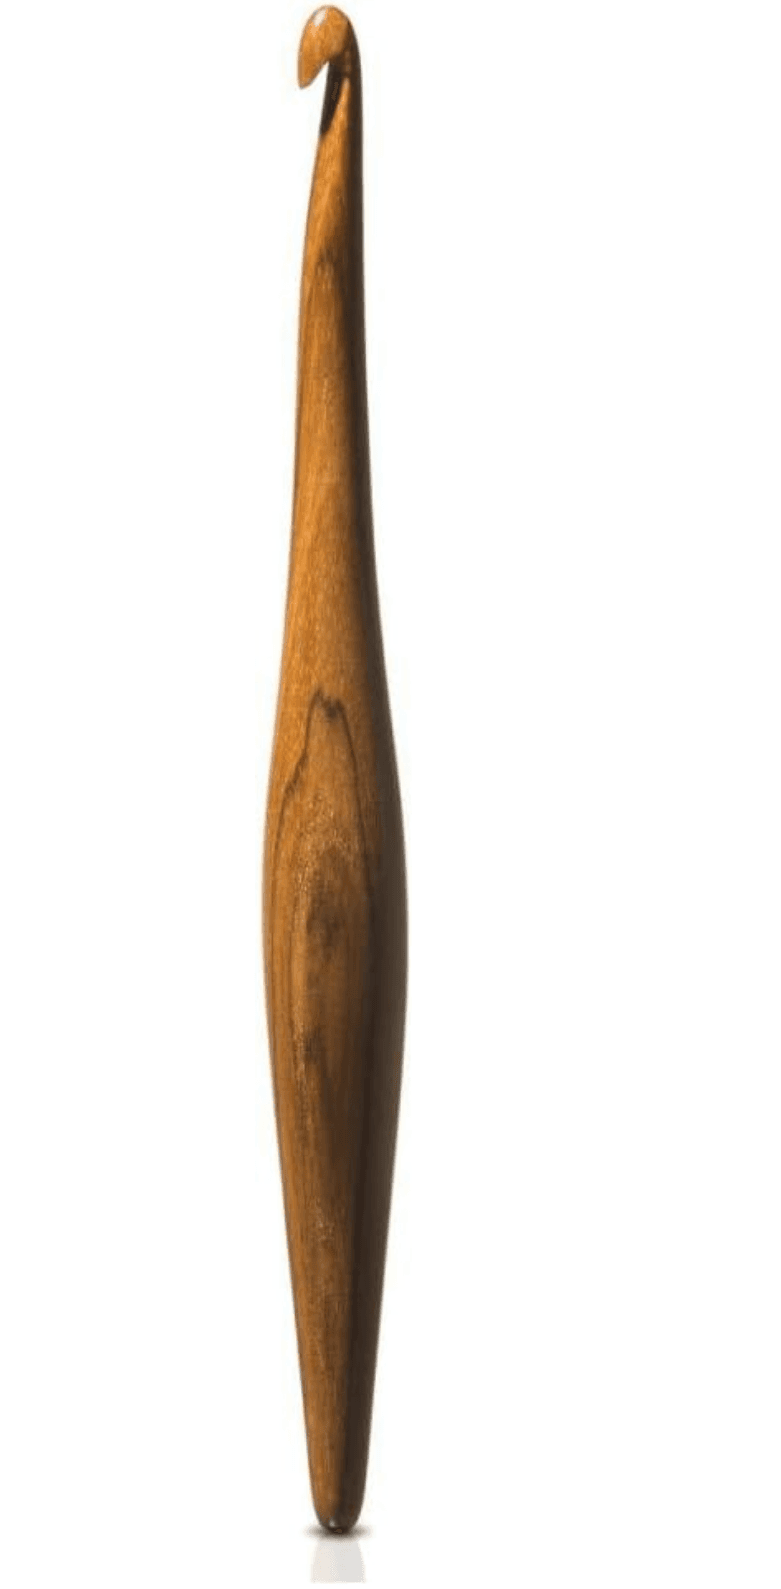
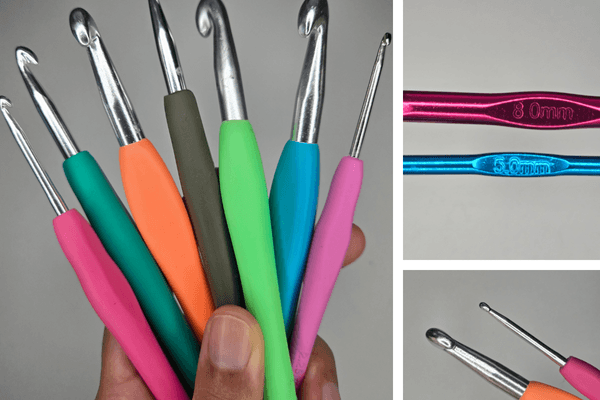
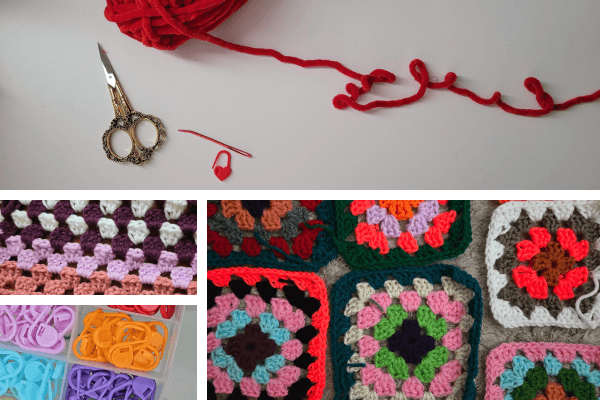
New to Crochet? Checkout our Recommended Crochet Tools


Recommended Guides

Understanding Filet Crochet Charts
A filet crochet chart is made up of squares that represent individual crochet blocks.
Each square on the graph tells you whether to create a solid section or an open mesh section.
Filled Block (■)
A filled block creates a solid crochet section.
Depending on your preferred filet crochet method, a filled block is usually:
- 4 double crochets (dc)
- Or 3 double crochets after the first filled block in a row
Open Block (□)
An open block creates the classic filet crochet mesh pattern.
The most common method is:
- 1 double crochet (dc)
- Chain 2 (ch 2)
- Skip 2 stitches
- 1 double crochet (dc)
Once you understand these two basic blocks, you can create almost any letter or design.
Step 1: Decide Your Letter Size
Before creating your chart, decide how large you want your lettering to be.
The height of your letters determines how visible the name will appear in your finished project.
- 7 blocks high: Small borders and subtle lettering
- 9 blocks high: Medium-sized names
- 11 blocks high: Large names and wedding projects
- 13 blocks high: Statement lettering
For a dress or large blanket, an 11-block-high letter is usually the best choice. It creates lettering that is easy to read while still allowing the lacework to remain delicate and elegant.
Step 2: Choose a Block Font
When designing filet crochet lettering, simple block fonts work best.
Avoid complicated cursive or script fonts because the small spaces between crochet blocks can make them difficult to read.
Think of your letters like pixel art. Every filled square becomes part of the letter shape.
For example, a simple 7-block-high letter A could look like this:
□□■□□
□■□■□
■□□□■
■■■■■
■□□□■
■□□□■
■□□□■
A simple letter N:
■□□□■
■■□□■
■□■□■
■□□■■
■□□□■
■□□□■
■□□□■
Each square represents one filet crochet block.
Step 3: Convert Each Letter Into a Grid
To create your name chart, treat every letter like a pixel image.
Start by drawing each letter on graph paper or using a crochet chart program.
For example, the word "HI" could become:
■□□□■  □□■□□
■□□□■  □□■□□
■■■■■  □□■□□
■□□□■  □□■□□
■□□□■  □□■□□
Every square equals one filet crochet block.
A filled square creates the letter.
An open square creates the background mesh.
This process allows you to turn any name into a crochet-ready design.
Step 4: Add Spacing Between Letters and Words
Spacing is important because filet crochet lettering can become difficult to read if the letters are too close together.
Recommended spacing:
- Leave 1–2 empty columns between letters
- Leave 3–4 empty columns between words
Step 5: Calculate Your Chart Width
Before crocheting, estimate how wide your lettering will be.
Use this formula:
Letter Width × Number of Letters + Spacing = Total Chart Width
Example:
- Each letter is 7 blocks wide
- Your design contains 18 letters
- You use 1 block of spacing between letters
- You use 3 blocks between words
Your final chart may be approximately:
150–170 filet blocks wide
Knowing your width ahead of time helps you determine whether your lettering will fit your dress, veil, blanket, or other crochet project.
Step 6: Crochet the Filet Chart
Once your chart is complete, crochet it row by row.
Most filet crochet charts are worked from the bottom upward.
Follow the chart like reading pixel art.
For each square:
Filled Block
Create a solid section:
- Double crochet
- Double crochet
- Double crochet
- Double crochet
Open Block
Create a mesh section:
- Double crochet
- Chain 2
- Skip 2 stitches
- Double crochet
Continue following the graph until your lettering is complete.
Step 7: Center the Name on Your Crochet Project
For a professional-looking finish, center your lettering before starting the chart section.
Use this formula:
Project Width − Chart Width ÷ 2 = Beginning Open Blocks
Example:
Your project width:
- 220 blocks
Your name chart:
- 152 blocks
Calculation:
220 − 152 = 68

68 ÷ 2 = 34
You would crochet:
34 open blocks before beginning your lettering
This creates equal spacing on both sides and keeps the design centered.
Step 8: Add Decorative Filet Crochet Borders
Personalized lettering looks especially beautiful when surrounded by decorative lace details.
Leave approximately:
8–12 open blocks between the lettering and the edge of your project
This gives the name space to stand out.
Popular filet crochet border ideas include:
- Roses
- Vines
- Hearts
- Small flowers
- Pearl accents
- Picot edging
Helpful Tools for Creating Filet Crochet Name Charts
If you plan to create multiple personalized filet crochet patterns, using a graph-making tool can save hours of design work.
Programs like Stitch Fiddle and other crochet chart editors allow you to:
- Type in names or words
- Choose a block font
- Adjust letter size
- Preview your finished chart
- Modify spacing
- Export your crochet pattern
These tools are especially helpful for:
- Wedding veils
- Mesh dresses
- Baby blankets
- Memorial blankets
- Personalized gifts
- Custom crochet orders
Creating a filet crochet name chart becomes much easier when you can test your design before picking up your crochet hook.
Final Thoughts
Turning a name into a filet crochet chart is simply a matter of converting letters into blocks. By choosing the right letter height, using simple fonts, spacing your words properly, and carefully centering your design, you can create beautiful personalized crochet pieces that become treasured keepsakes.
Whether you are making a wedding veil with names, a custom baby blanket, or a unique handmade gift, filet crochet lettering adds a special personal touch that cannot be recreated by mass-produced items.
Have a Pattern Idea?
AI Generate your Next Pattern
Enhance your crochet journey with a charming package that brings handmade warmth to your projects. This AI-generated pattern is reviewed by a skilled crochet artist.
What's Included: Pattern notes, materials list, stitch abbreviations, yarn suggestions, and step-by-step instructions.
Comments
Related Articles
Crochet tips & tricks, pattern collections, and more!
Podcasts, originals, and more are included.
Premium selection of best sellers and listen all you want.
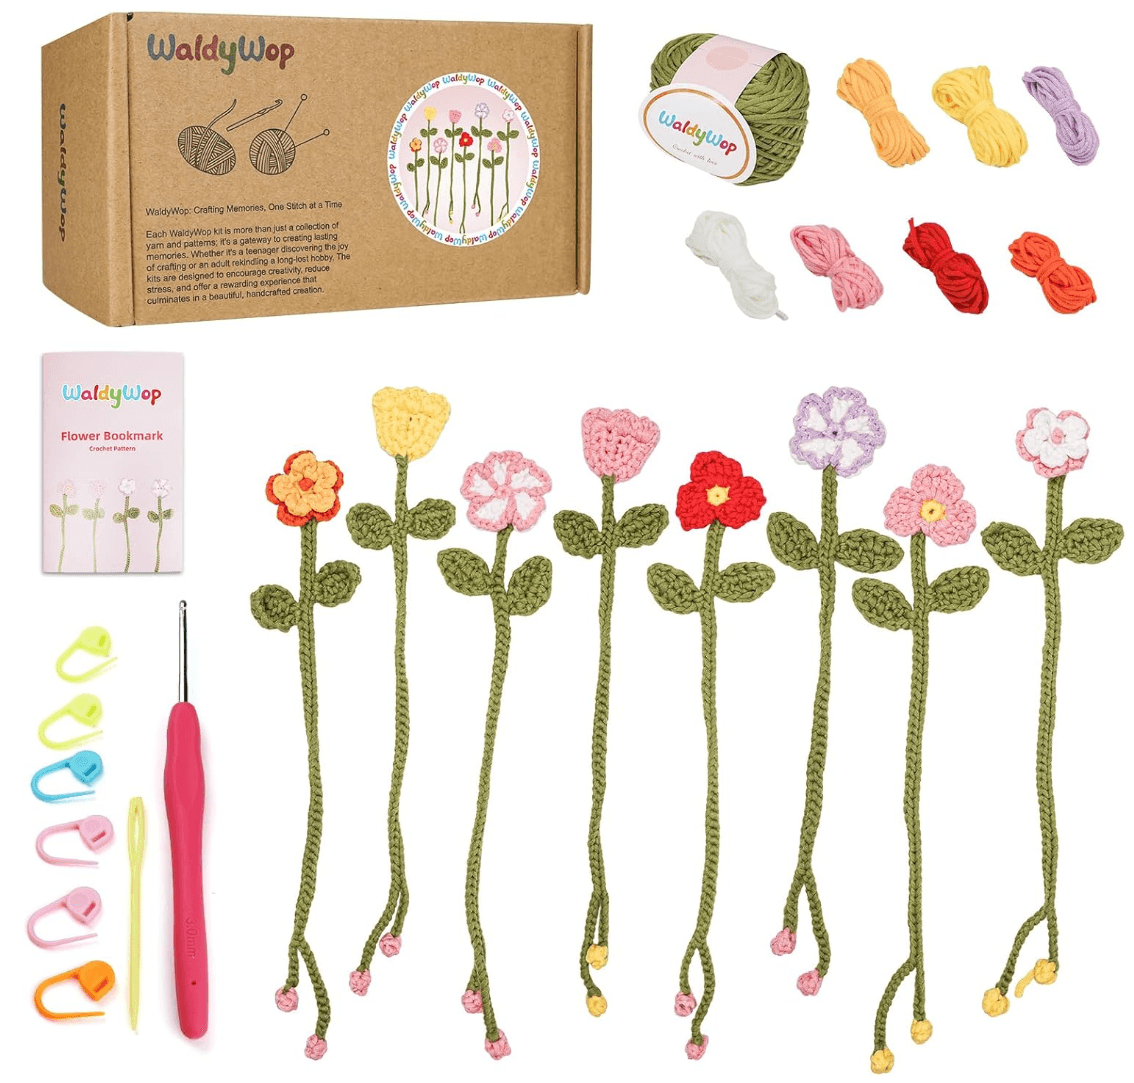
Stock Up on Supplies for Your Next Project!
Recommended Articles
Crochet tips & tricks, pattern collections, and more!

Amazon Best Sellers
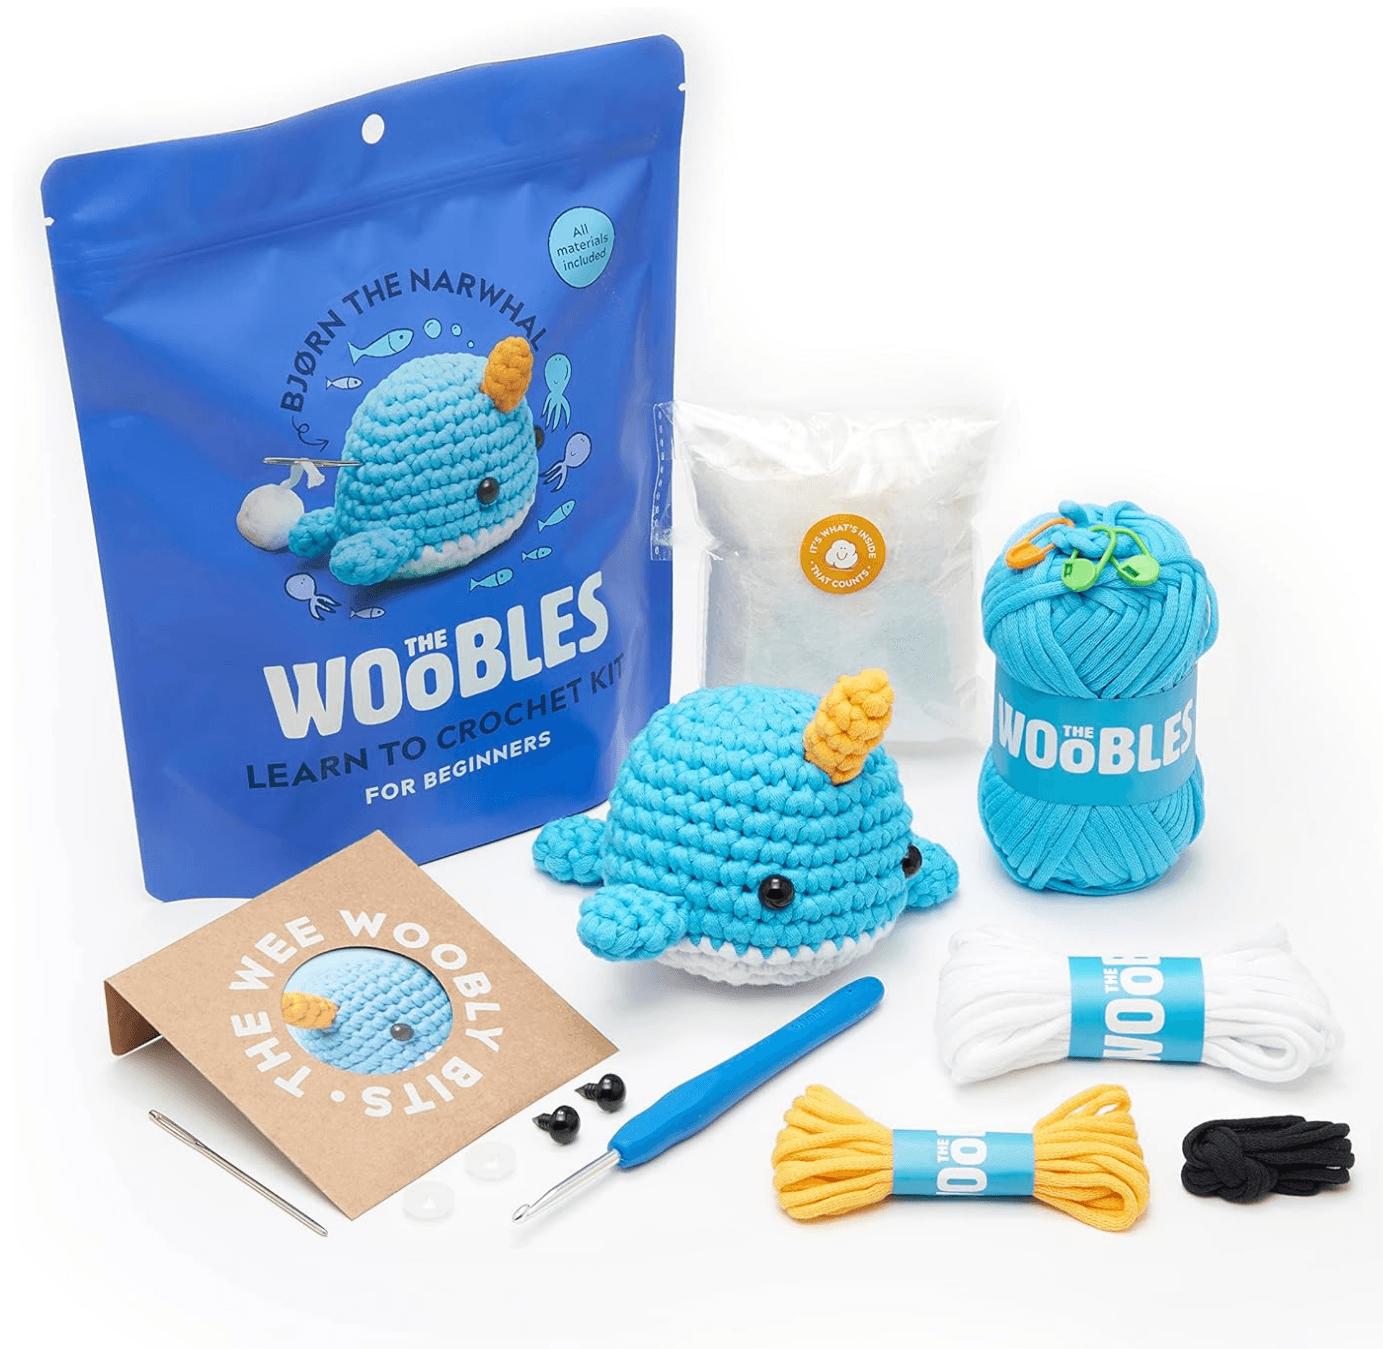
Top selling crochet kits


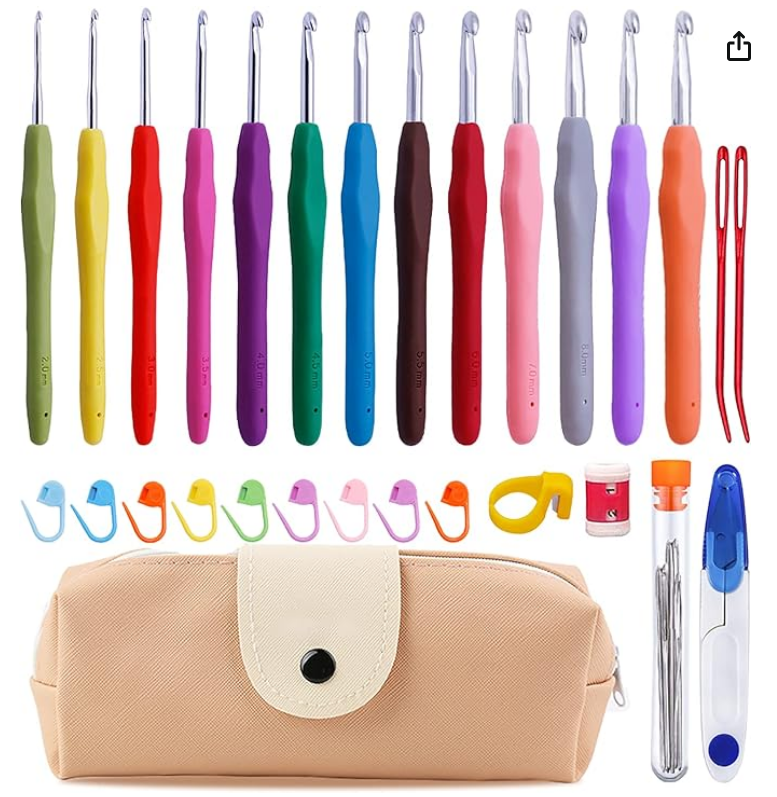
More Supplies
Crochet kits, yarn, and more!
Trending Now
Home goods, skin care, electronics, and more!
Therapy Skincare Face Mask with Vibrating Massage - Blue & Red Light
TheraFace Mask by Therabody - LED Light
Buy on amazon.com
Room Decor for Girls, Boys, & Adults, Desk or Shelf Display
LEGO Botanicals Happy Plants Building Toys
Buy on amazon.com
Natural Wake Up Light - Dimmable Clock with Bluetooth Speaker
Sunrise Alarm Clock White Noise Machine
Buy on amazon.com